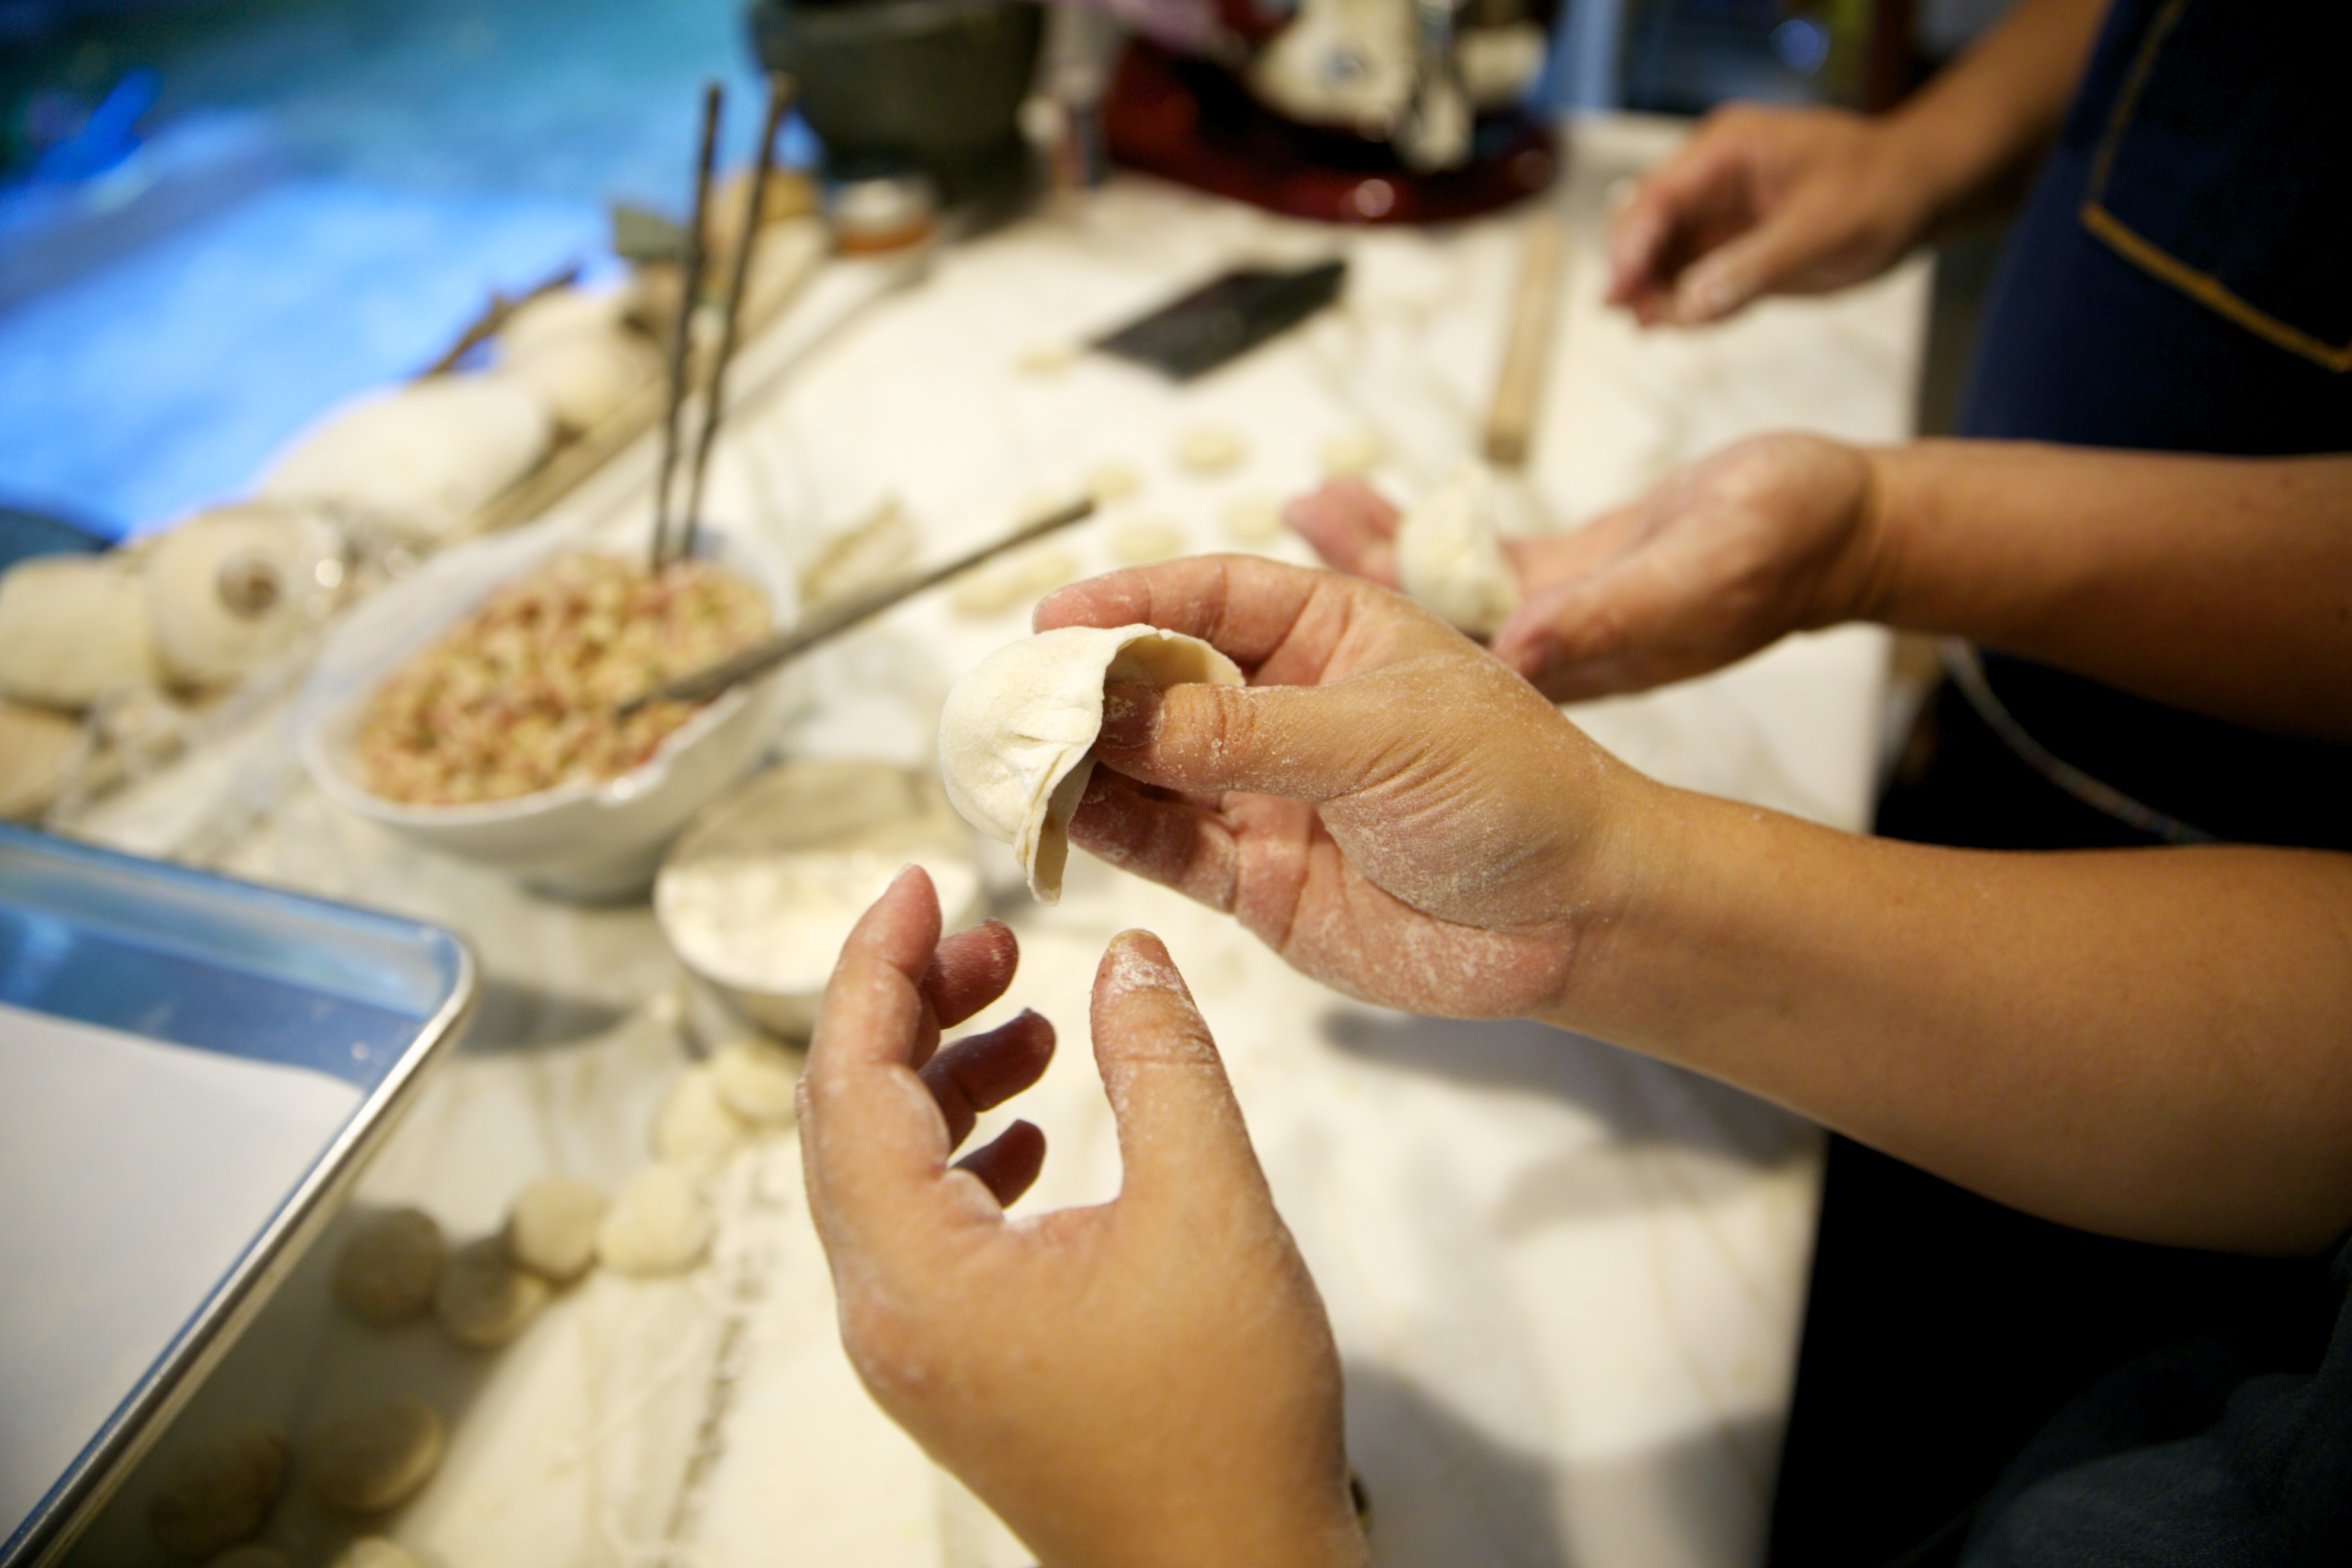
[vc_row row_type=”row” use_row_as_full_screen_section=”no” type=”full_width” angled_section=”no” text_align=”left” background_image_as_pattern=”without_pattern” padding_top=”30″ css_animation=””][vc_column][vc_column_text][dropcaps type=’normal’ font_size=’48’ color=’#303030′ background_color=” border_color=”]D[/dropcaps]uring Chinese New Year (also known as Lunar New Year), families gather for a feast of symbolic foods, including dumplings, which represent wealth and longevity. The rounded shape of dumplings resembles the shape of ancient gold ingots, so eating dumplings at New Year’s is a must. You can boil, steam, or pan-fry the dumplings (pan-fried dumplings are more commonly known as potstickers). Serve with Soy-Ginger Dipping Sauce.
Related content: Listen to the KPLU (NPR) interview of Hsiao-Ching Chou and her family while they prepared foods for their Chinese New Year feast. LISTEN NOW…
DUMPLINGS (JIAO ZI) FOR CHINESE NEW YEAR
MAKES ABOUT 48 DUMPLINGS
Dough:
2 ½ cups unbleached all-purpose flour
¾ cup warm tap water
Filling:
1 pound ground pork, preferably Kurobuta or other heirloom variety
2 ½ cups, loosely packed, finely chopped Chinese cabbage
1 stalk green onions, finely chopped
1 teaspoon minced ginger
2 tablespoons soy sauce
¼ teaspoon ground white pepper, optional
1 teaspoon sesame oil
Make the dough: Place the flour in a mixing bowl. Add ½ cup of the water to start. Using a rubber spatula, wooden spoon, a pair of chopsticks, or your fingers, stir the water and dough together. As the dough starts to form, add the remaining ¼ cup of water gradually. Continue to stir gently until a ball of dough starts to form. Now, use your hands to start kneading the dough and incorporating any remaining flour. Knead the dough a few times to make a ball. The dough should feel slightly tacky but not damp. It should not stick to your fingers.
Remove the dough from the bowl and knead for about 2 minutes. It should feel smooth. Cover the dough with a damp towel or plastic wrap and let it rest for a minimum of 20 minutes. (While it doesn’t need much longer than that, it won’t hurt the dough if it happens to rest longer.)
Stand mixer method: You can use a stand mixer, if you’d like. Add the flour to the bowl, add the water gradually while running the dough hook at medium-low speed. Once the dough comes together, knead for about 2 minutes.
Make the filling: Combine all the ingredients in a bowl and mix well.
Roll out the dough: Once rested, divide the dough in half. Roll each half into a rope that’s about ¾ inch in diameter and about 18 inches or so in length. Using a knife or a bench scraper, cut each rope into pieces that are about ¾ inch thick. Each piece should be about 9 or 10 grams.
Roll each piece of dough into a small ball and then flatten it between your palms to create a disc that resembles a wafer cookie. Position your rolling pin between you and the base of the wafer of dough. Dust lightly with flour as needed.
Take a piece of dough and, using your non-dominant hand, press your thumb gently into the dough to create and small indentation. Position your rolling pin between you and the base of the knob of dough. Dust lightly with flour as needed. Roll the pin forward across the dough and back. This should be a forward-and-back motion. You do not need to lift the rolling pin. Turn the dough 90 degrees and repeat the forward-and-back rolling. Turn the dough 90 degrees again and repeat the rolling. This forms the beginnings of a circle.
Repeat this for two full revolutions, but, for subsequent turns, roll the pin only half way up. The idea is to leave the center of the circle just slightly thicker than the outer edges. The wrapper should end up being a circle about 3 ¼ inches in diameter. Do not fear if the circle isn’t perfect; it needs only to be round-ish. If it looks like an oval, then round it out. If it’s lopsided beyond repair, then bunch up the wrapper into a ball and start again. It happens and it’s not a big deal. Unless you have an assembly line of friends or family helping you, roll out about 6 wrappers at a time and fill them. If you roll out too many, they start to stick to each other and you will get a mess.
>>The video below show you how to roll out the wrappers and filling the dumplings for boiled, steamed or pan-fried dumplings (potstickers).
Potstickers from Hsiao-Ching Chou on Vimeo.
Filling and folding: The simplest way to seal the dumplings is to fold the wrapper over the filling into a half-moon shape. Match the edges together and press as if you were sealing an envelope. There is no need to dab homemade wrappers with water. There is enough moisture in the dough that the edges will seal when pressed. Holding the sealed edge of the dumpling between your fingers, set it on its spine and gently wiggle it as you are pushing down so that the dumpling will stand up. Place the completed dumpling on a baking sheet dusted with flour or lined with parchment paper. Repeat with the remaining dumplings.
Cook the dumplings: You can boil or steam these dumplings, or pan-fry them to make potstickers.
To boil the dumplings, bring 4 quarts of water in a large pot to a boil. Carefully add about half of the dumplings, or only as many as your pot can accommodate without crowding, to the water. Let the water return to a boil and cook for about 4 ½ to 5 minutes. Keep an eye on the water as it may bubble over. Adjust the heat as necessary. The dumplings are done when they puff up. Turn off the heat. Using a large slotted spoon or handled strainer, lift the dumplings out of the water and serve immediately.
To steam: Add enough water to fill about ½ of the pot on which your steamer basket will sit. Cover with the lid and bring water to a boil. Place the dumplings in the parchment-lined steamer basket. Once the water has come to a boil, remove the lid and place the steamer basket on top of the pot. Cover with the lid and steam for 8-10 minutes until the wrappers puff up. Serve right away.
To make potstickers: Preheat an 8- or 9-inch nonstick skillet over medium heat for about 1 minute. (If you have a bigger or smaller skillet, that’s fine. Adjust the oil amount as needed.) Be careful not to use high heat, which can cause the nonstick coating to deteriorate. After you have preheated the pan, add enough oil to generously coat the entire surface of the pan and create a slight pool of oil (just about ⅛ inch deep). It seems like a lot of oil, but it will help you create that telltale crispy crust.
Carefully arrange the dumplings in the skillet, flat side down. (At this point, some cooks will let the dumplings brown in the oil for about 1 minute before adding water. I always add water immediately and then finish browning at the end. Both ways work; I simply grew up using the latter.) Add ½ cup water to the pan and cover immediately with the lid. The oil and water will splatter, so be quick with the lid. Cook for about 7-9 minutes, or until the water has dissipated and the bottoms of the dumplings have reached a golden brown. The cooking time may vary slightly depending on your stove. Adjust the heat as needed.
Serve right away with Soy-Ginger Dipping Sauce.
SOY-GINGER DIPPING SAUCE
MAKES ABOUT ½ CUP
⅓ cup soy sauce
2 tablespoons rice vinegar
1 tablespoon chopped cilantro
1 stalk green onion, finely chopped
1-2 cloves garlic, finely chopped
1 teaspoon peeled and minced fresh ginger
1 teaspoon chili sauce, optional
Mix all the ingredients in a small bowl. If you have time to let it sit for at least 30 minutes, the flavors will meld together. The longer the mixture rests, the more intense the flavor becomes. Once mixed, the sauce will keep in a sealed container in the refrigerator for up to a week.[/vc_column_text][vc_separator type=”transparent” up=”25″ down=”0″][vc_separator type=”normal” color=”#ffffff”][/vc_column][/vc_row][vc_row row_type=”row” use_row_as_full_screen_section=”no” type=”full_width” angled_section=”no” text_align=”left” background_image_as_pattern=”without_pattern” css_animation=””][vc_column][vc_separator type=”normal” color=”#ffffff”][/vc_column][/vc_row]
Leave A Comment